Food photography is one of the most alluring types of photography you can get into. Show anyone a photo of a freshly-cooked, steaming-hot dish, and their mouths are sure to start watering in a matter of seconds. As a traveler, you encounter various types of cuisine and countless unfamiliar dishes with each new place you visit. Documenting the food that you had through photography allows you to share the different dishes that you had to an audience.
Naturally, you would want to capture it in its full glory and immortalize the experience. But what if we told you that you don’t need an expensive camera to capture beautiful food photos? Read on to find out about the different food photography tips that can help up your game without needing to purchase pricey gear.
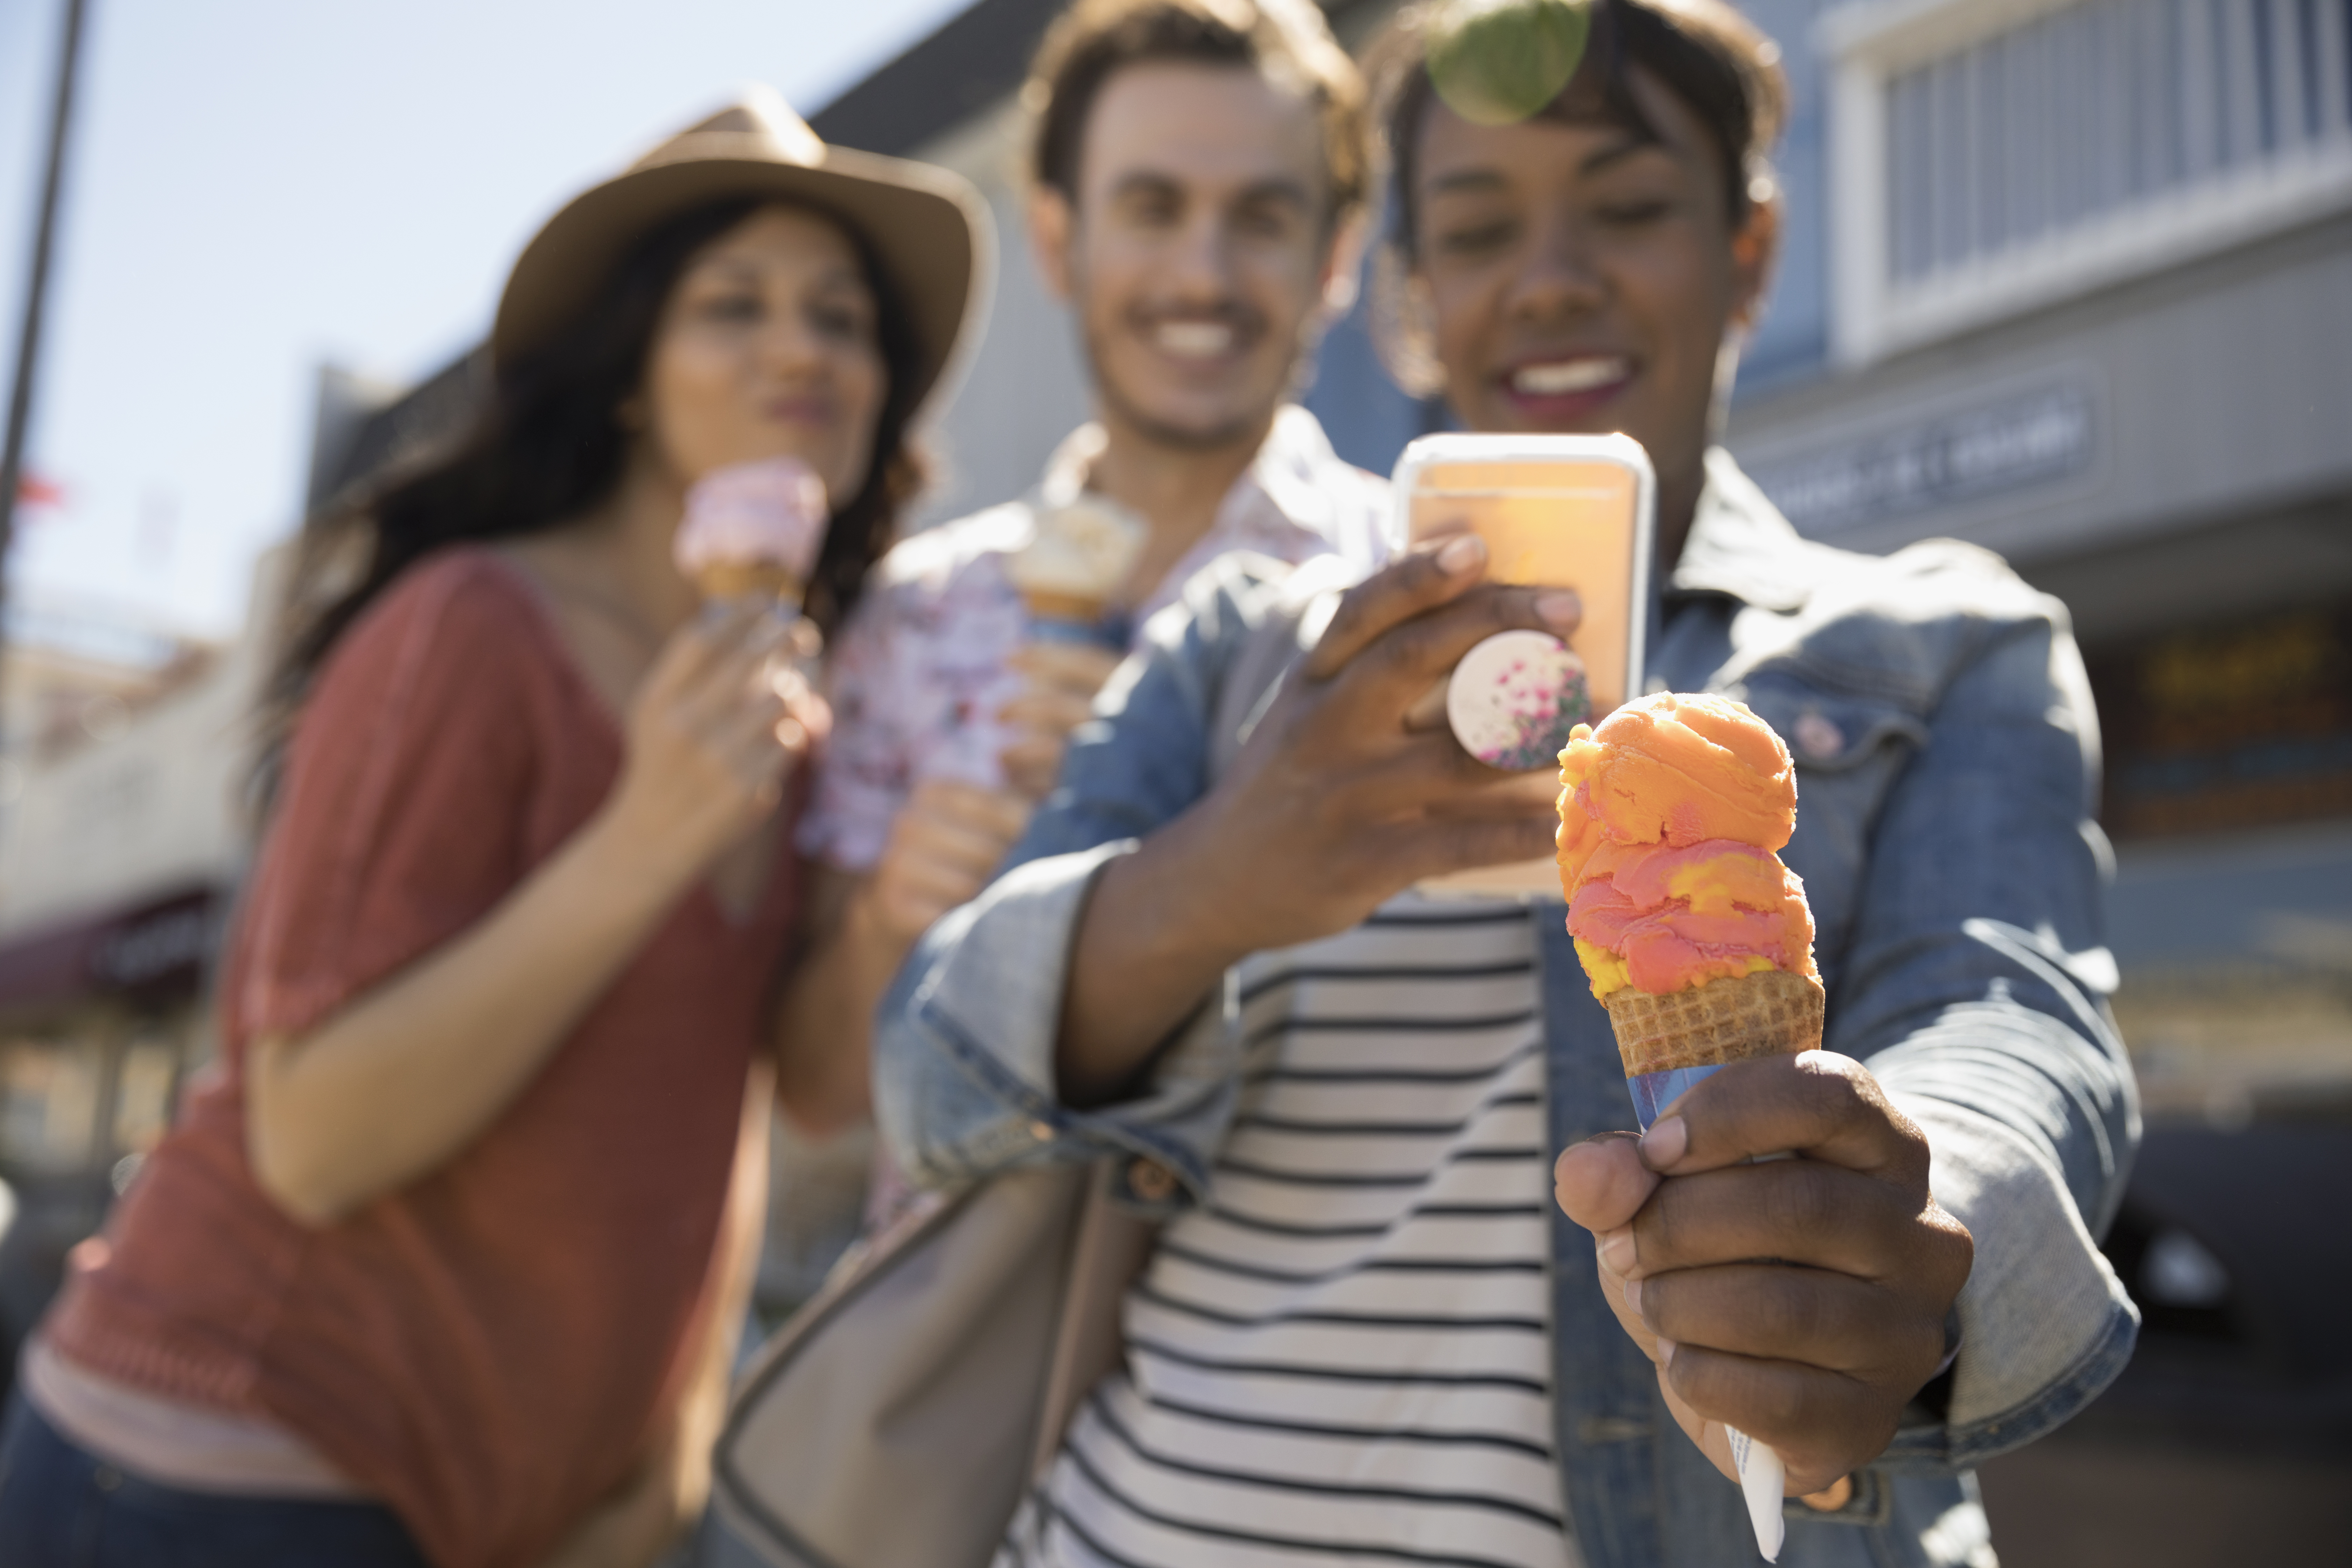
Food Photography Without Expensive Cameras
Several different factors determine what makes a great food photo. The camera you shoot with is one of them. If you have the money to purchase high-grade full-frame cameras, then, by all means, go for it. However, it’s possible to produce amazing photographs using a basic camera kit. Focus on food photography basics and principles so that you can create stunning food photos using the most basic camera. Here are some tips to follow to step your food snapshot game up a notch:
Lighting is Your Best Friend
Most expensive cameras are packed with amazing features like high-quality resolution, fast autofocus systems, a broad ISO sensitivity range, and the like. However, despite having these exceptional features, they can only do so much to improve the lighting of the object that you are trying to photograph.
Lighting can make or break any photograph. Photography is all about creating depth with the use of light and shadows. Food and travel photography mostly rely on natural light. This means that using the built-in flash of your camera will do more harm than good as it would create harsh shadows that would make your photo unflattering. Soft shadows appear more natural, making your photo more organic and look tasty.
Picking the Right Lens
If you can’t afford a high-end camera body just yet, you can instead invest in high-quality lenses. Having a good lens is the next best thing that you can have if you don’t have an expensive camera. If you have a camera with interchangeable lenses, like mirrorless or DSLR cameras, and you know you are going to shoot food as you travel, try buying lenses specially made for food photography so that you can take amazing photos of the food.
There are several types of lenses that you should consider getting for your trip. A macro lens is perfect for close-ups while still maintaining sharpness as it focuses on your subject. Fast 50mm prime lenses are next on the list of must-have lenses if you want to capture shots showing the whole dish while also separating it from the background. Finally, if you’re going to capture contextual shots, like the inside of a kitchen or the main interiors of the restaurant, a 24mm wide-angle prime is the lens for you.
Experiment with Angles
Angles are another essential aspect of food tourism photography that not a lot pay close attention to. Shooting from specific angles is the ideal approach as this helps you define the food’s depth. Shooting from directly above, on the other hand, can be pleasing in certain scenarios such as showing symmetry in your shot. However, wrongly taking a flatlay photo can make your dish and photo look flat and unappealing. Shooting close to tabletop-level can accentuate any food that should be presented vertically to show their structure, such as cakes, burgers, and beverages.
Work on the Sharpness & Focus of Your Photos
One of the most frustrating mistakes a food photographer can make is to check their photos on their computer hours after the shoot only to see some images that are poorly-focused and sharp on the wrong spots or some that are marred by motion blur. Don’t rely heavily on background blur or creating bokeh when taking your close-up shots since this eliminates a lot of the minute details of the food if most of the background and some of the foreground is blurred.
Motion blur is another problem that most beginner food photographers face. The minimum shutter speed you should shoot with is 1/60, and even then, you would have to hold your camera very still. If you are shooting under poor lighting conditions, bumping up the ISO can help compensate for the exposure. Just remember that the higher your ISO sensitivity is, the more noise you’ll get on your image.
Provide Contextual Shots
Now that you’ve got mouthwatering photos of the food you just ate, there’s one more way to enhance your photo set: take pictures of things that can contextualize the dish even more as this can tell a story or emulate your whole experience with the food. Were you eating inside a fancy 5-star restaurant, or was it a small, family-run business? Perhaps you can take a photo of the chefs preparing the dish, or a couple of customers enjoying the meal. Contextual shots are all about telling an interesting story along with the photos of your food.

Aim to Get Everything Right Before Editing
Do not rely too heavily on post-processing to correct or enhance your shot. While it is true that there are numerous issues that you can fix and enhance in Lightroom or Photoshop, taking the initial steps in getting the right shots while you’re still on-location is a good habit to have as a food photographer. Focus more on composition, color, exposure, and the like instead of trusting too much in post-processing your photos.
When it comes to the editing process, make sure you don’t over-edit your photos. Keep your adjustments at a minimum, from adjusting the contrast, saturation, and sharpness, to cropping and transforming the image. Going overboard during post-production can make your images look unnatural, forced, and unappetizing.
It’s Not About the Gear; It’s What You Do With It
Having a high-end camera is not the only answer in producing mouthwatering photos of food. At the end of the day, it’s the person holding the camera who can make a difference. Knowing how to utilize lighting, angles, sharpness, focus, and using a camera lens to its full potential can spell the difference between taking a regular social media snapshot and capturing an editorial-quality photo. So, the next time you go on your next big adventure, don’t fret if you don’t have the most high-grade camera out there. You can still create amazing photos with the simplest of cameras.

Shane Haumpton is a contributing writer for several websites and blogs. She has written on a variety of topics, ranging from lifestyle, photography, travel, and arts and crafts to gadgets, social media, and internet safety. This self-confesse coffee addict and shutterbug manages to do all these while enjoying life as a nomad.
Dissolve Premium (dissolve.com) has been the go-to for quality stock footage and photos by the world's top creative agencies and production houses. Some of the best filmmakers and stock producers from around the world are with Dissolve — our rapidly growing collection of unique, compelling footage is a testament to that. In addition to our quality stock footage and photography business, we launched Dissolve Creators (dissolve.com/creators/community). A platform for photographers, filmmakers, producers, and designers to connect and share their work as free downloadable content. We offer these creatives (amateur or pro) a bridge to our clientele, gig opportunities, networking opportunities, as well as our knowledge of the stock industry.
.png "sidebarassetDownloadV1 (1)")
.png "sidebarassetjoinV1 (1)")
.png "sidebarassetSocialV1 (1)")