3D images are popular features that give depth and dimension to your projects. We’ve noticed more and more sites using this engaging tool. That’s why we looked up what you would need, what options are available, and various ways to create your own 3D images. We’ve laid out the steps for beginner, enthusiast and expert editors below.

Beginner
The most convenient editing tool is the one you already have in your pocket, your phone. Sadly, not every phone is capable of capturing such depth, however, if you take a second look at the back of your phone, you can find more than one camera. We tested an iPhone 7 Plus (probably the oldest dual-camera system from Apple) using the “portrait mode.” The “portrait mode” results in a photo with a depth map embedded into the file (ie. artificially blurred background). On your iPhone, the format of the photos is HEIF (High-efficiency image format) rather than traditional JPEG.

After you’ve taken your picture, open the Facebook App. When adding the photo as a regular post, choose 3D image and bam! You have a 3D image. It’s that easy! If you would like to take your image outside the gates of Facebook follow the next part where we will get a little more in-depth on how to make any image look 3D.
Enthusiast
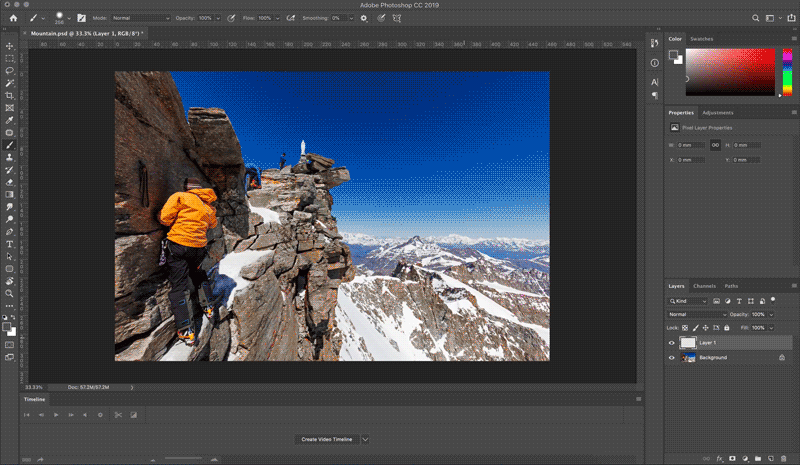
This process will take a bit longer but it’s equally worth it. First thing you’ll need is Photoshop, or any other equivalent program such as Gimp, Affinity Designer, Corel Draw, or Procreate. If you want to play with the original image from your phone, you can import it, making sure to export the original file and not a regular jpeg. In photoshop, you will find an extra channel, which is a black and white gradient of the assumed depth of the image in your phone, this is called a Depth Map. If you don’t have a “portrait mode” image, you need to create your own Depth Map. This is simple to do and you’ll have more control over the final depth of your 3D image.
Open your original photo in the editor of your choice and create a new layer. The goal is to create a greyscale image representing the depth of the scene from your image. Lighter greys represent objects that are closer while darker represent objects further away. Don’t try to push the difference too far like going from white all the way to black, as it will not look natural.
Once you sketch up the map, blur the edges of equal surface softer. Keep everything in layers. You may always go back and adjust the depth map if needed. Once you’re happy with your result save the image as a jpg, or png, with _depth behind the original name. (ie, if you named it an image, make sure its “image_depth”).
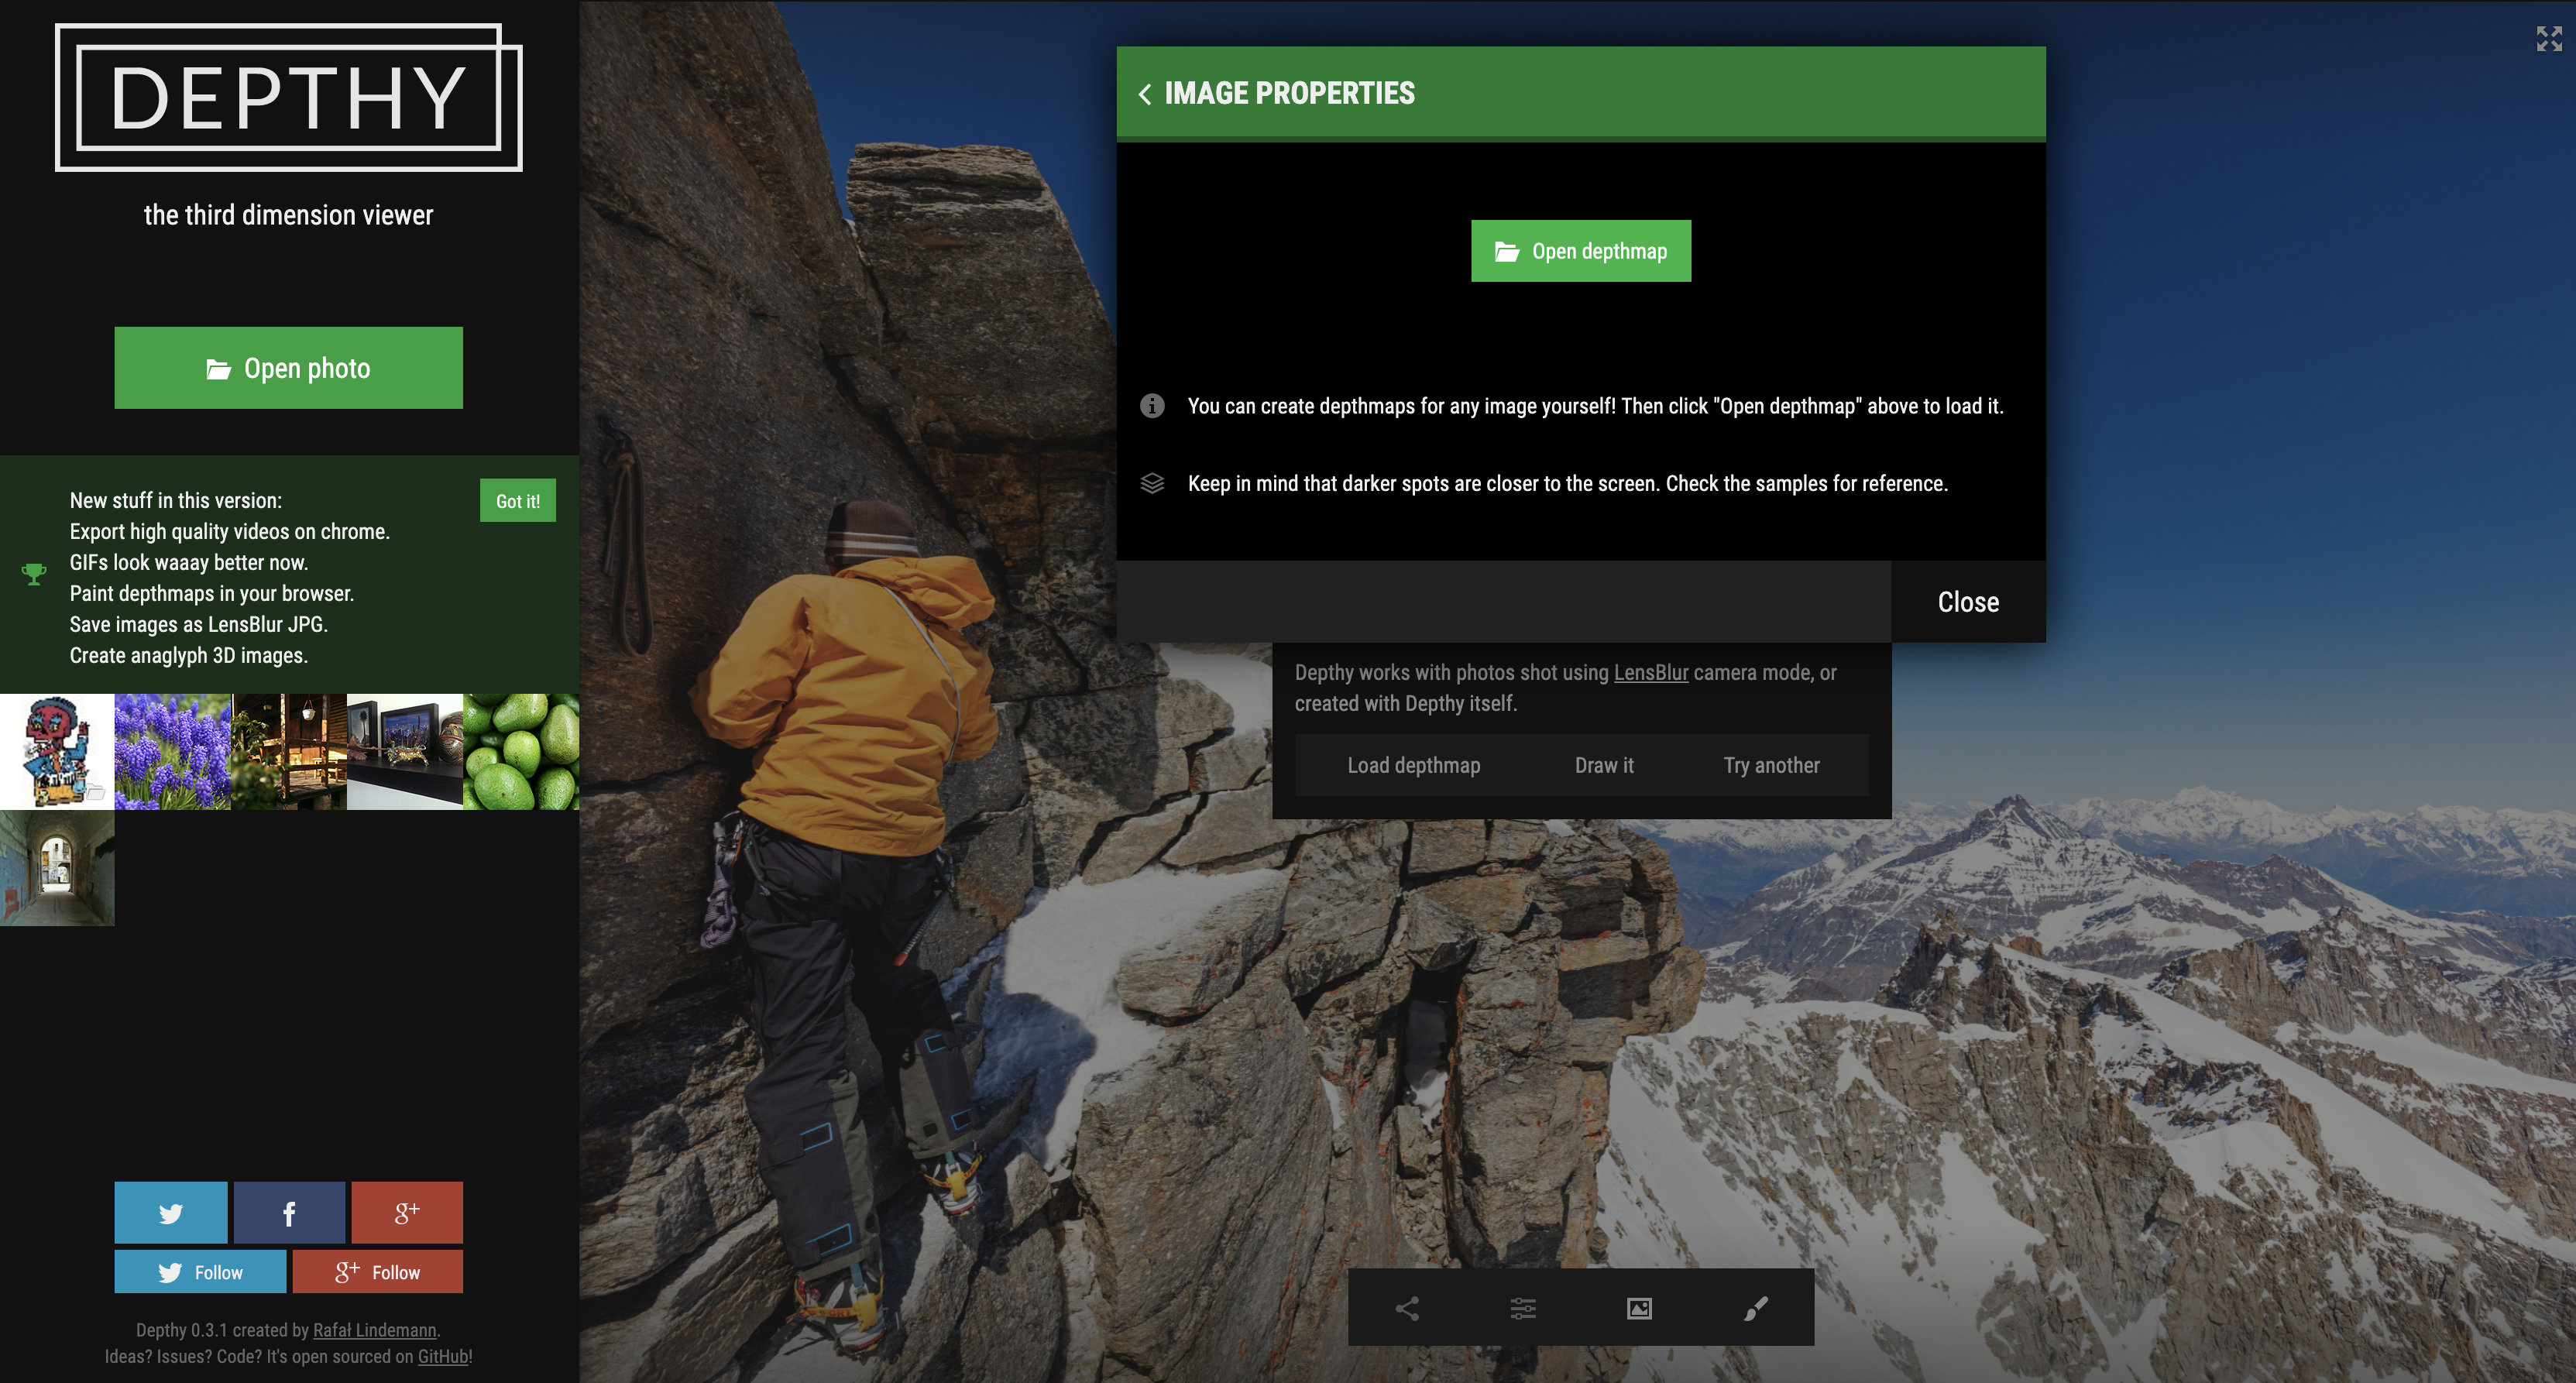
After this, you can upload that image to Facebook again or use a nice tool called Depthy found in Depthy.me. This is a web-based free script that has an easy and intuitive interface. It was created by Rafal Lidemann, and can also be found through GitHub. Click on the green “Open Photo” button to upload your image. You have the option to draw a depth map or load it from a file. This is where you’re going to use your “_depth” image. Once it’s uploaded, you’ll see the same effect that you obtained on Facebook, triggered by the movement of your cursor across the image.
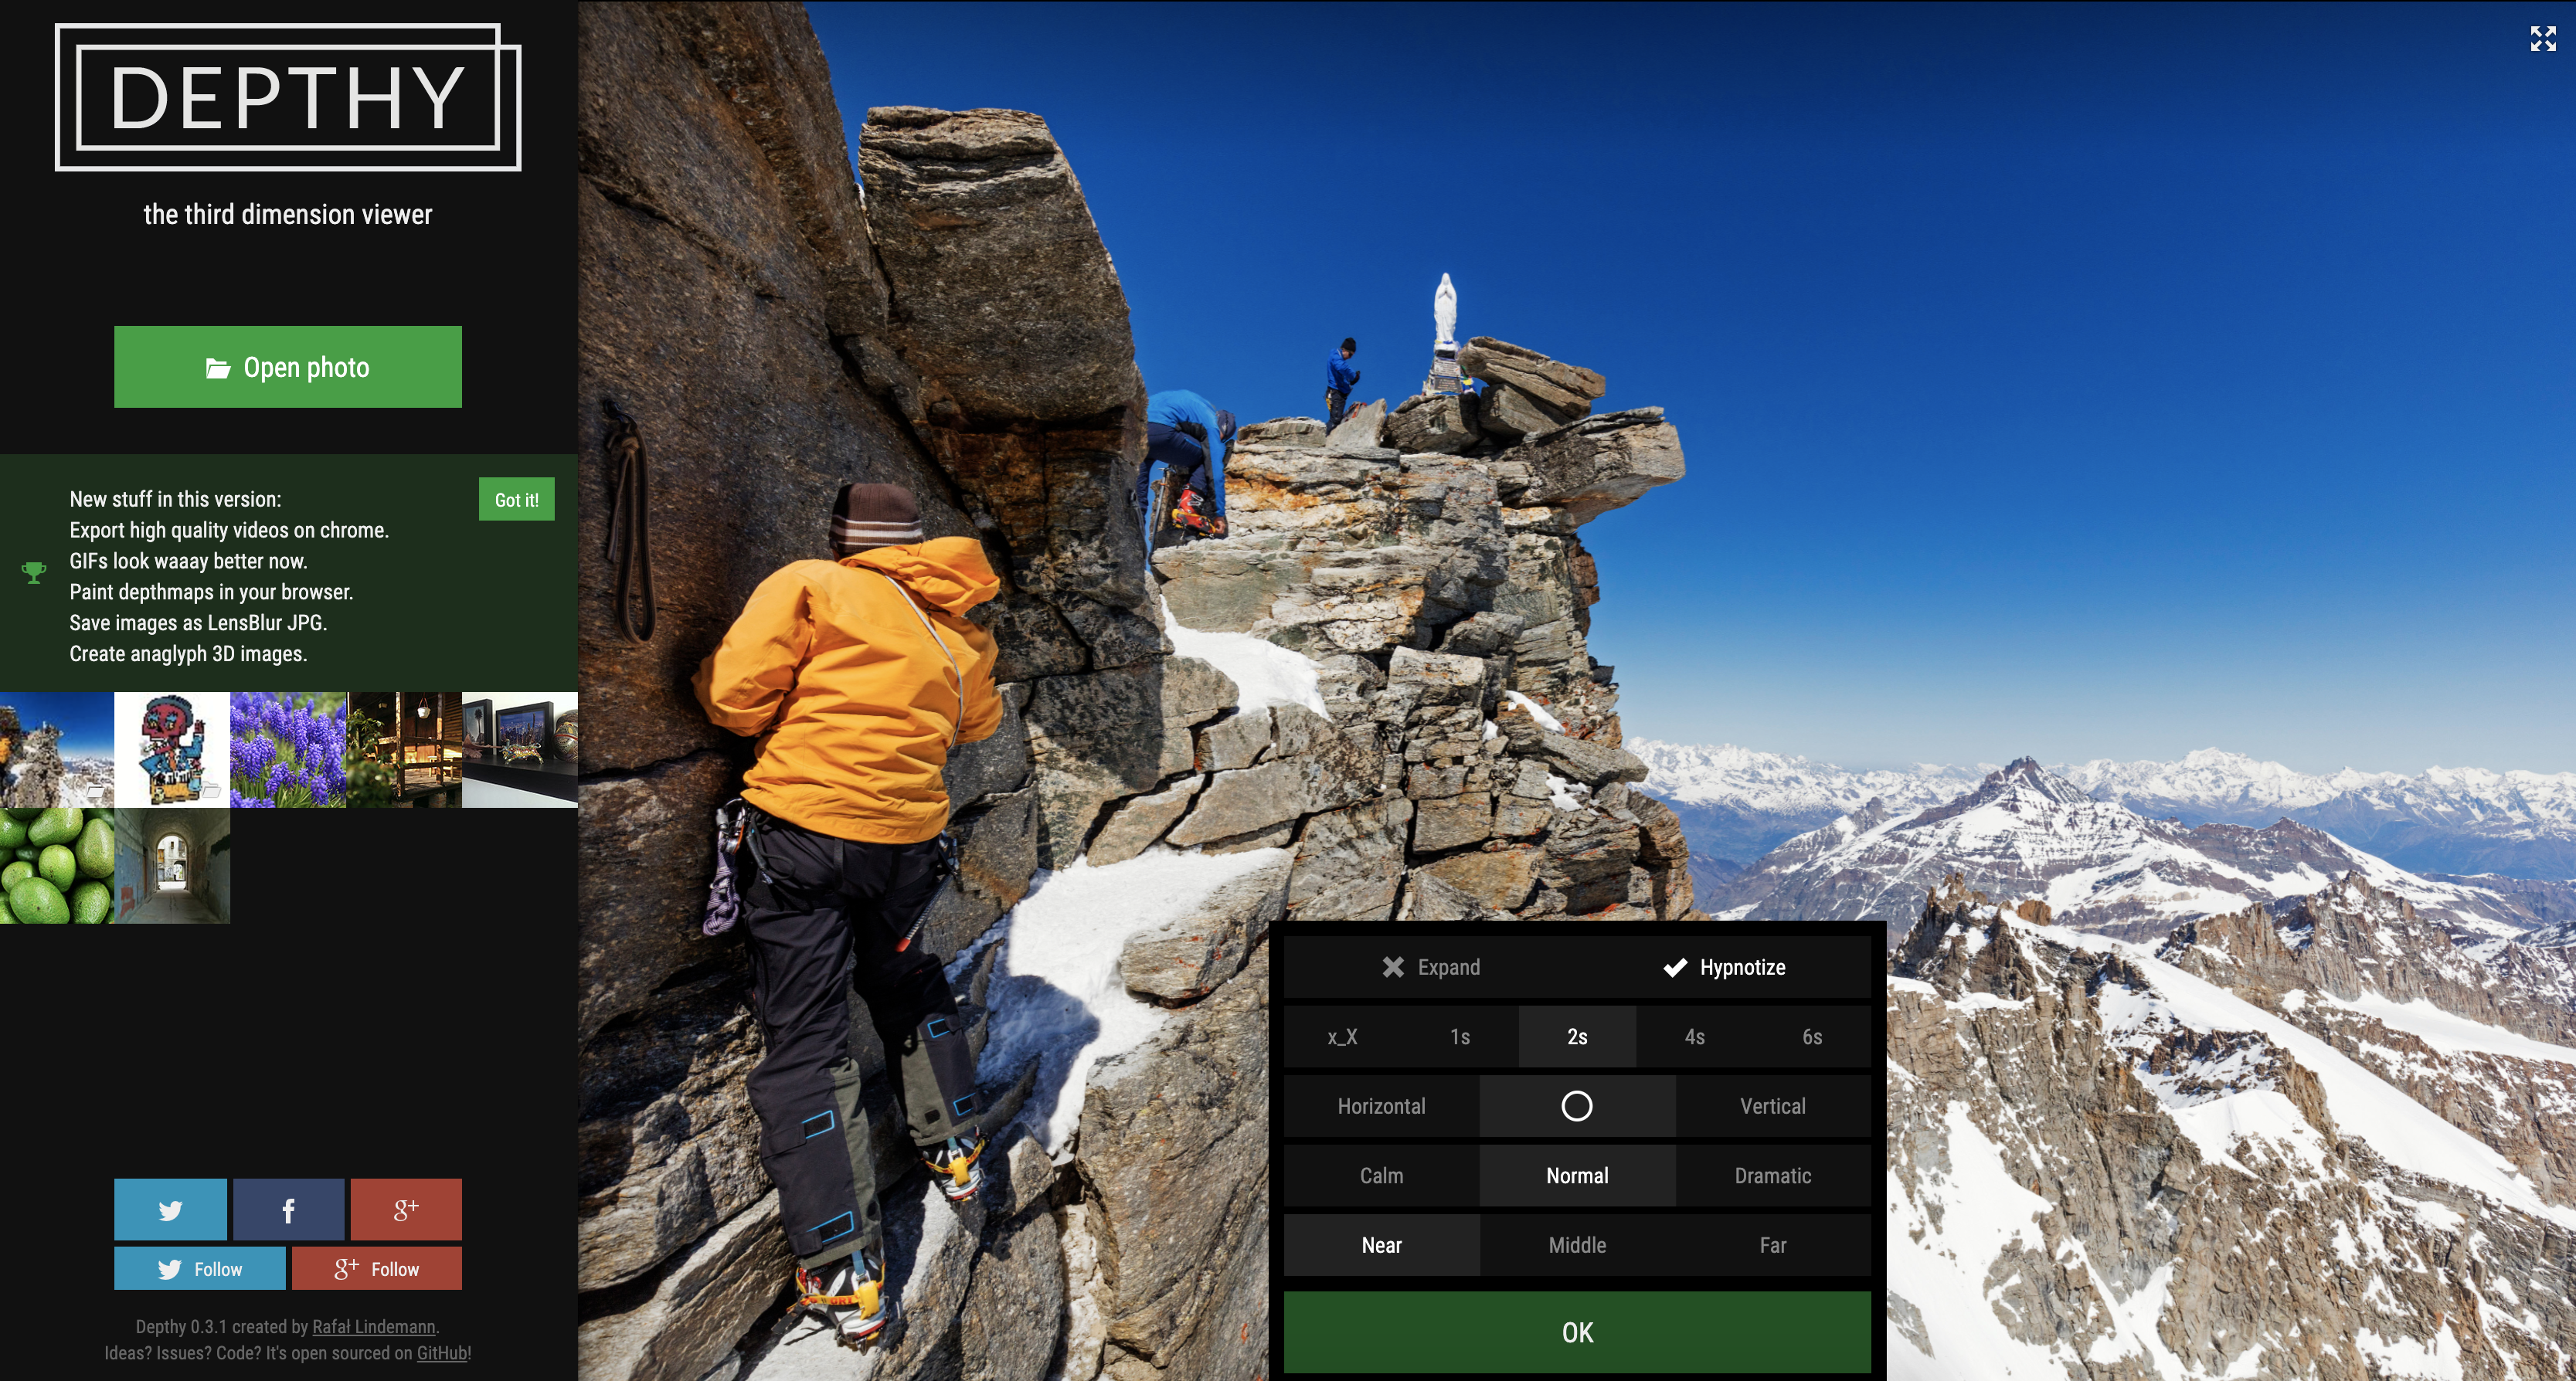
Here is where you will find extra features hidden in the settings. Down in the menu, open up the settings tab and turn on the option called “Hypnotize”. With “Hypnotize” the movement then becomes perpetual. Just play with the settings for the movement of the photo to make the 3D effect more exaggerated or subtle. When you’re happy with your results, export the image as a .gif or a video file (it’ll be one loop of the video). There’s a lot of control over the 3D aspect in Depthy, but if you want to have even more control and do some crazy animations around it you should consider trying Adobe After Effects.
Expert
Using your smartphone is very handy but it doesn’t sound too professional, and indeed there are industrial solutions for capturing depth. Range imaging is a category in optics and it has evolved quite a lot in last decade. This technology is used in various fields from gaming through VFX, but also in engineering and other more technical environments. Consumer cameras capturing depth developed by Intel can start around 100US. With one of these, you can be sure to capture high detailed information about depth. With this amount of precise data, you can use either dedicated software, 3D software such as Cinema 4D (or Blender if you’re a fan), or you can use good old Adobe After Effects.
Take a look at these cameras.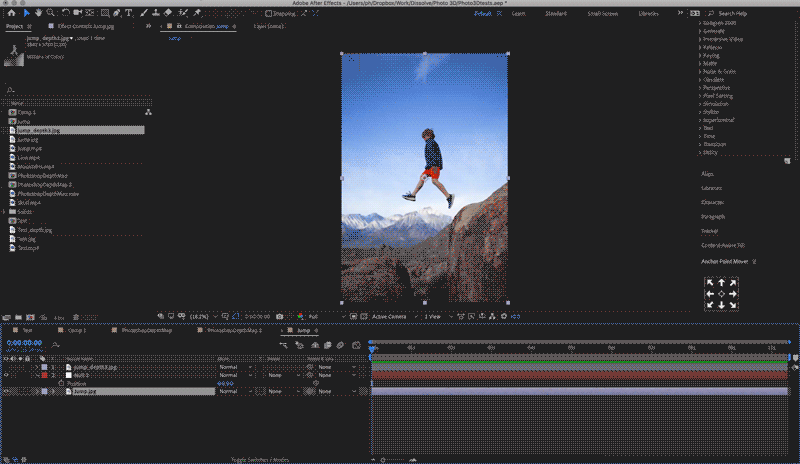
In Adobe After Effects, import your photo and create a new composition out of it. Import your depth map and paste it on the top in your composition and make it invisible. The easiest way to see results is to apply the “Displacement Map” effect on the original picture layer and select your depth map as a displacement map. Pin all sides in the effect settings, set the displacement values to Luminance and then play with the distance of displacements (vertical and horizontal) set. If you want to have more intuitive control, create a new null object and place to 0, 0 coordinates of your composition. After that, roll out the layer settings, go to effects and pick-whip the horizontal displacement value to the X position of the null object and vertical displacement value to the Y position. Once you start to move the null object around, you’ll see the distortions in your original image. From there you can just animate the position of your null object and render out a video or gif for your specific use.
Watch this tutorial here
.png "sidebarassetDownloadV1 (1)")
.png "sidebarassetjoinV1 (1)")
.png "sidebarassetSocialV1 (1)")