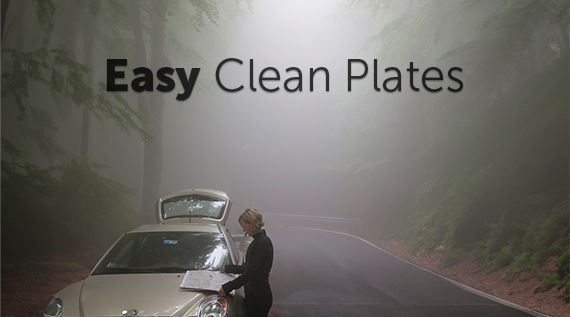
Make Dissolve footage even better with Content-Aware Fill
Ever found a stock footage clip that was almost perfect? A killer skyline view, with one gloomy cloud rolling through. Or an iconic tourism mecca ruined by, well, tourists. Help is here.Content-Aware Fill is a new feature in Adobe After Effects that makes it easy to erase unwanted elements from every frame of a video clip — so it’s not just the best clip you found, it’s the exact clip you need.
What you’ll need:
- a computer (for editing video, the faster the better)
- Adobe After Effects CC 2019
- Adobe Photoshop CS5 (or newer)
- a basic knowledge of masking
- a ton of patience

A little bit of background
Adobe Photoshop users have been enjoying Content-Aware Fill since CS5, selecting and magically erasing elements from images with just a few clicks. Since that debut, the Photoshop feature has gotten better and better, offering more convincing results with every new version.
Implementing the same tool for video was a loftier feat, with objects in motion being erased from multiple frames per second, for the duration of a clip. This is version one of Content-Aware Fill for video, and though the results will no doubt get better with future Creative Cloud updates, the results today still seem impossibly cool.
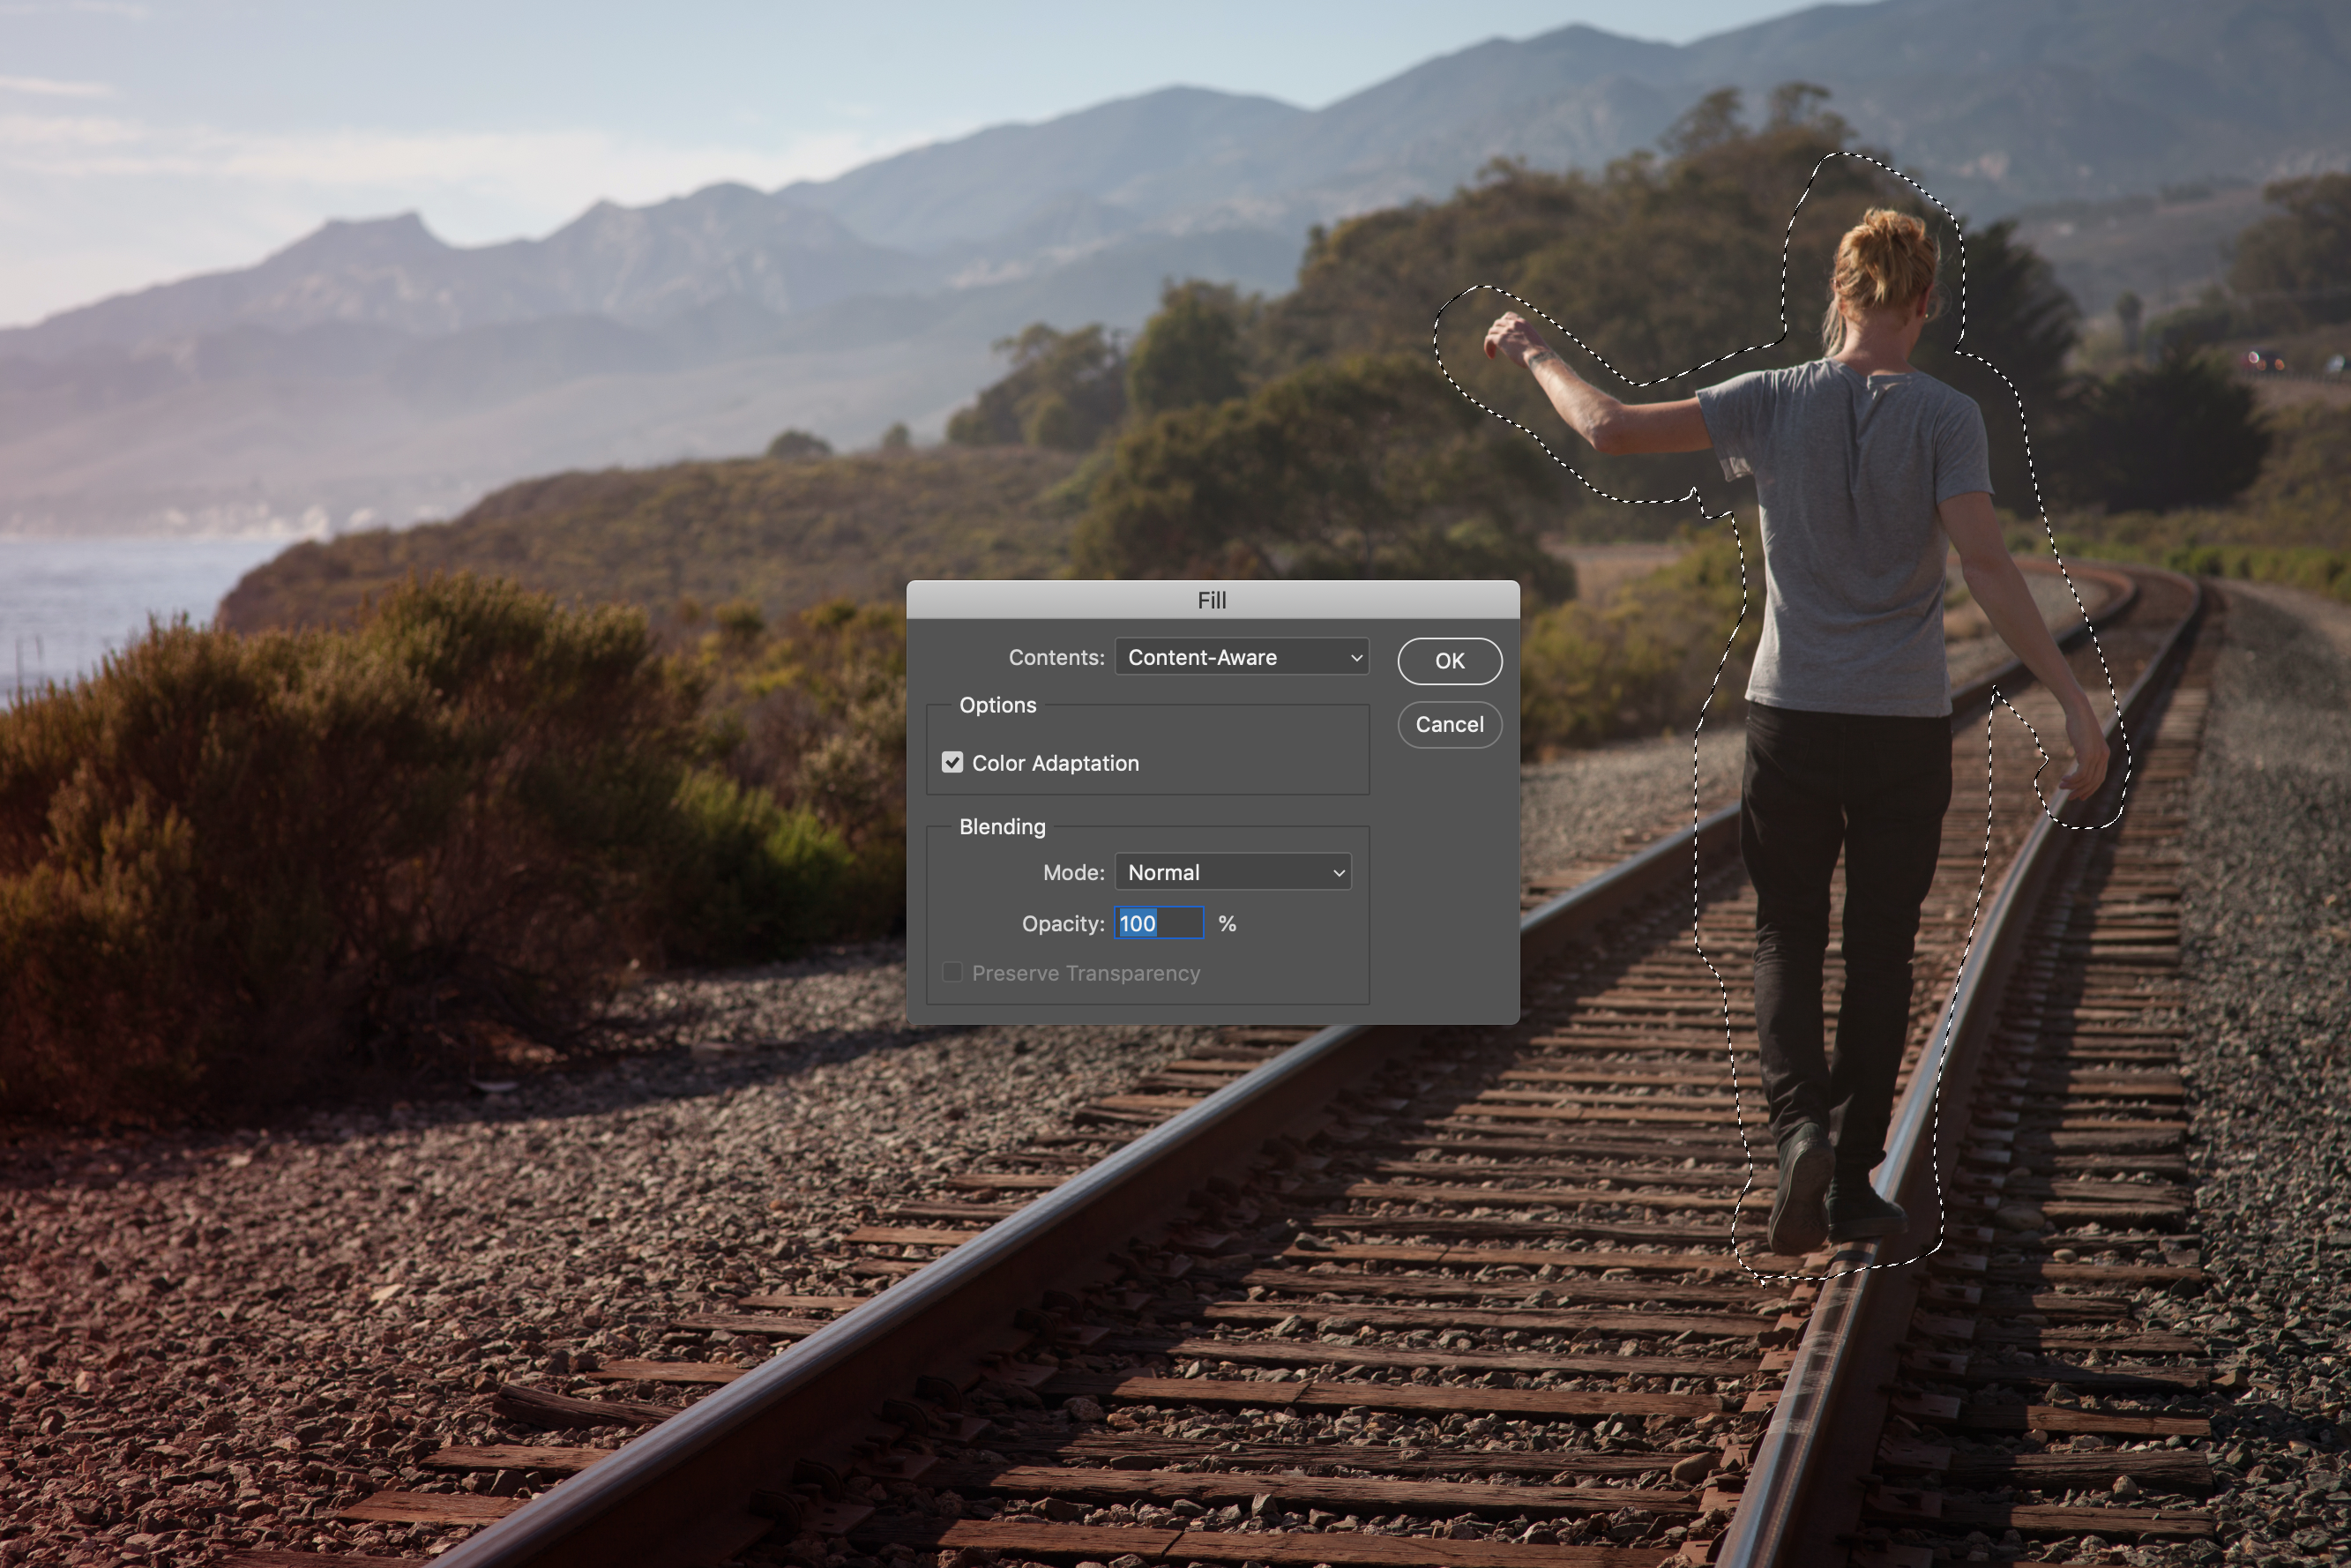
How Content-Aware Fill works for photos
Open any Dissolve photo in Photoshop. Duplicate the layer (press Cmd+J on Mac, Ctrl+J on Windows) so everything is easily editable. Choose any selection tool. Select the element you’d like to erase, including a margin of space around the element. Delete the element (press Shift+Delete on Mac, Shift+Backspace on Windows). In the menu that opens, select Content-Aware from the Contents dropdown list, and press Enter. Poof! It’s gone.
You may want to refine the results, smoothing out rough edges, or erasing small artefacts. You can use Content-Aware Fill again, use Heal Brush, or use the Clone Stamp to erase any evidence of your trickery.
If you don’t want to delete an element — but just move it — you can use Content-Aware Move. This is handy if you need space for ad copy, or you aren’t happy with how elements in the photo are balanced. Select the tool, select the element to be moved, and drag it where you’d prefer it was. Then use the refining tools mentioned above to leave no trace.
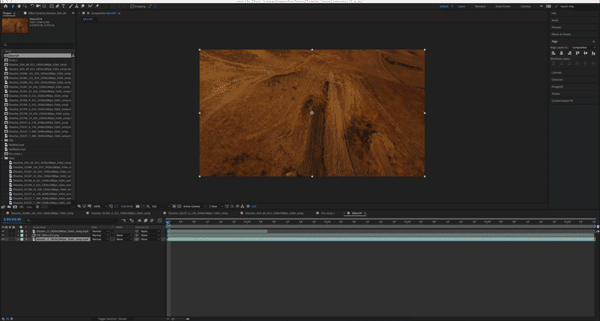
How Content-Aware Fill works for videos
Open any Dissolve footage clip in After Effects. Drag the clip onto the New Composition button. In the newly created composition, select the footage layer and the Pen tool (press G). Create a mask around the element you want to erase, and while the mask is selected, go to the layer’s masks (press M). Click Animation in the menu bar and select Track Mask. Expand the Tracker window (or open it under Window in the menu bar) and click the play button to track the mask. After Effects will automatically create keyframes for your mask and move, scale, and rotate the mask along with your selected element. That’s it.
If the results aren’t convincing, you may want to animate your mask manually. Select the footage layer and press M on your keyboard. Under the mask is Mask Path. Click the stop watch to create a keyframe that locks your mask in position. Move a couple of frames forward and move your mask to create another keyframe. Repeat those steps for the duration of the footage, until the mask moves along with the subject. Precision isn’t important, so you can leave extra space around the element, just like in Photoshop.
When you’re done masking, expand the Content-Aware Fill window (or open it under Window in the menu bar). Click Generate Fill Layer, and After Effects will ask you to save your file before continuing. The default settings should work in most cases, but you can choose the. Default settings for the tool works in most of the cases, but you can adjust he Alpha Expansion slider for better blending, choose a Fill Method (Object/Surface/Edge Blend), choose the range of the effect (Work Area or Entire Clip Duration).
Results will vary, depending on your footage clip and the element you’re trying to erase.
Things to consider
At this point in time, the Photoshop version of Content-Aware Fill is more advanced and does more of the work for you. In After Effects, you may work harder to get similar results — but nowhere near as hard as you would have to if Content-Aware Fill for video didn’t exist at all.
Footage with fast, organic movements like waves, trees, and fire are going to be harder to work with, and yield rougher results than hard-surface environments (buildings, walls, etc.) with uninterrupted areas of the same colour or texture.
Content-Aware Fill is a great leap forward for stock footage editing, giving you a speed boost (and basically a superpower) when you need to remove a logo from clothing or cityscapes, clean up dirty surfaces, or do something a little more elaborate — like erasing an entire little league team practice from a baseball diamond because you’re concerned about rights clearances, or their uniforms clash with your opening titles.
For more information and more detailed instructions about using Content-Aware Fill, check out these tutorials on YouTube:
Tutorial by BakersTuts
Feature showcase & tutorial by Peter McKinnon feat. Andrew Kramer
.png "sidebarassetDownloadV1 (1)")
.png "sidebarassetjoinV1 (1)")
.png "sidebarassetSocialV1 (1)")