In this guide you will find 7 tips to help you find the perfect location for your photoshoot – these will cover topics from knowing your style to taking advantage of your surroundings like trees, rocks, leaves, and many more.
By the end of this guide, you will be able to take stunning photos by creating your own perfect spot because choosing the perfect spot doesn’t have to be difficult. In fact, we’ve put together a list of 7 tips on how you can find the perfect spot to have a magnificent photoshoot.
Know Your Preferred Style
First, you must know which style(s) work for you. How does one style suit what you want to capture on your camera? Think about these factors: the texture, the lighting, the space, etc.
Difference Between Shade Vs Full Sun
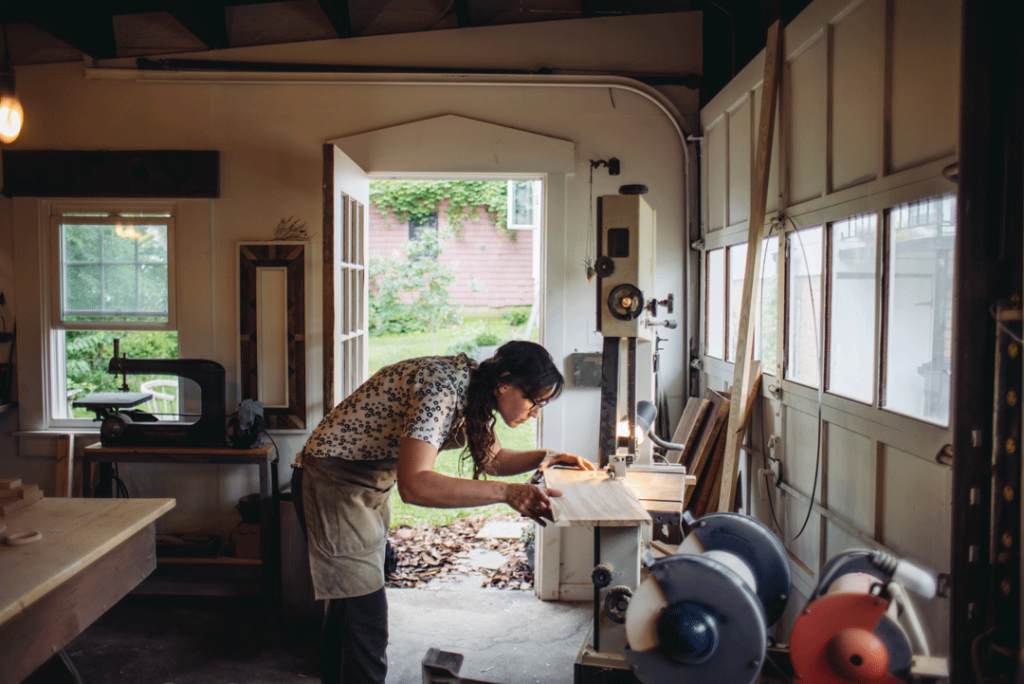
Next, you’ll need to know the difference between having shade in your photos, and full sun.
First, using shades for your photo shoot will make the subject darker in appearance (unless THAT’S the intent). Whereas, photos taken with full sun are often reserved for colorful and vibrant subjects. Although some shadows still play a part in such instances, taking advantage of the full sun means that your subject should still correspond to the light.
Ultimately, you’ll need to decide how much light you want, and how much shade you want for your photo.
Using An Overhead Cover
An overhead cover can be useful to you in the following scenarios:
- You want to channel the natural lighting to help you light your subject.
- You don’t want the weather to interfere with your photo shoot.
- You want to reduce the number of bags on your human photo subject. (This can be reduced by covering some of the overhead light, which can cast shadows from your subject.)
No matter the case may be, using an overhead cover can be useful in those situations. You can even go inside your car to recreate an overhead-type vibe as you take some photos!
Take Advantage Of Environment Color
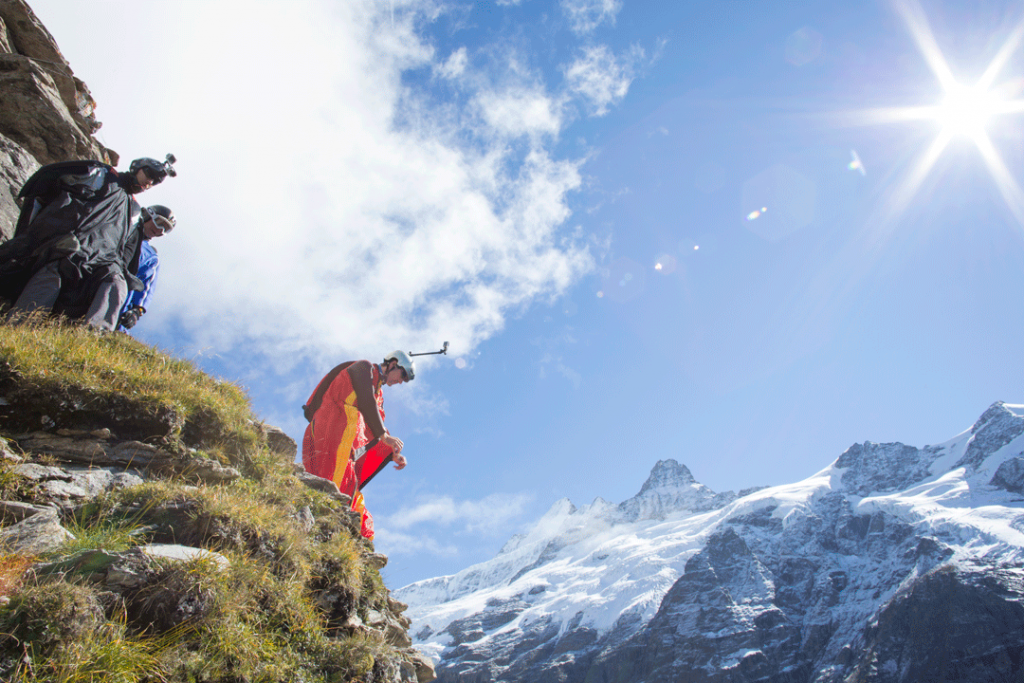
Nature is one of the best places to have photo shoots. From the fresh greenery to the magnificent scenery behind your subject(s), nature gives you plenty of ideas on what photos you can shoot, and how to shoot.
With that said, here are some factors to consider when deciding to do a photo op in natural settings:
- Trees, shrubs, and other greens
- Rocks, stones, and boulders
- Leaves (new or dead)
- Bodies of water (i.e. ocean, lake, etc.)
- The season (i.e. spring, winter, etc.)
- The wildlife (Warning: Just don’t get too close to wildlife.)
Such factors can provide the colors that you’re looking for, and can help you create a good photo op.
Using Variety In One Place
Photos are built on a variety of things, right? So, why not make variety part of your photo shoot?
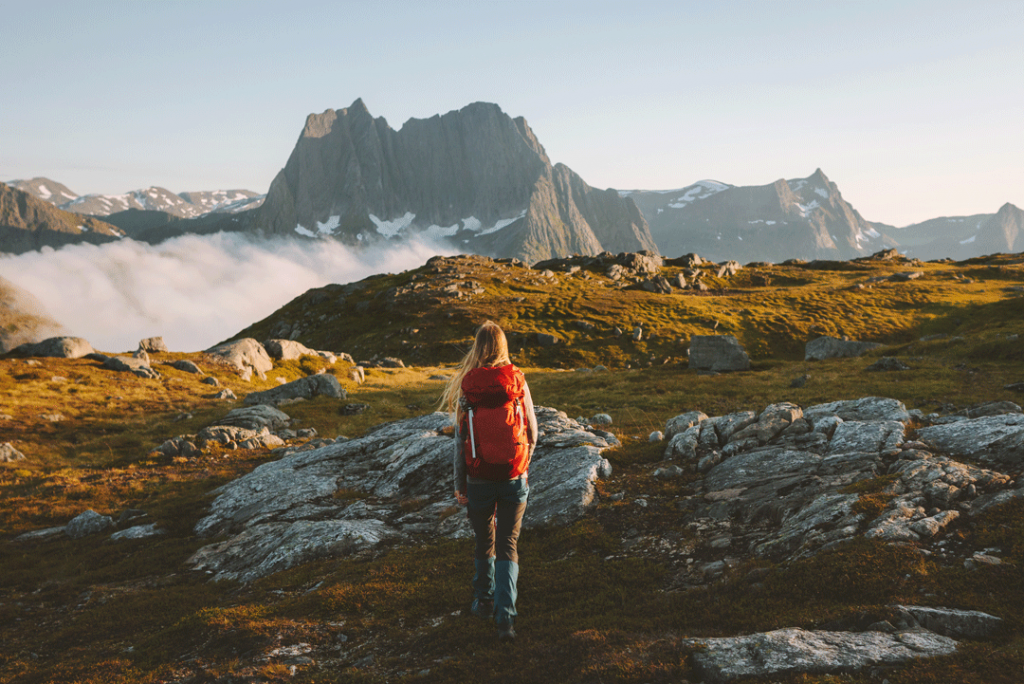
If you’re looking for different views, angles, etc., then having variety is key. By having variety in one place, you’re telling your viewers a story of what’s going on in the picture.
Have Location Access
Now, when it comes to finding a great location for your photo op, be sure that you have legitimate access to that place. If it’s at, say, an amusement park, where it’s open to the public, then you’re allowed to take photos. But, if a place is in a restricted area – where no one is allowed, except business personnel – then don’t chance it.
Plus, consider how natural factors are faring. As yourself these questions:
- Will I be physically safe taking a picture of something?
- Is the spot safe for the people around me (i.e. family, friends, etc.)?
- Is the spot muddy, slippery, etc.?
Check to see if weather or not conditions are right, if you plan on going on a photo shoot.
Keep In Mind Any People In The Background
Finally, think about the people around you. Here’s how to figure this out:
- If the intent is to capture people in the background, then go for it.
- If not, then find a place that isn’t crowded, or has less people around.
What you want your photo to look like is up to you. Plus, some cameras and photo-editing software let you blur background people’s faces, when necessary.

Conclusion
So, there you have it! All you need to know about choosing a great spot for your photo op – all in one quick guide! While each photo shoot you do will be different from the rest, by utilizing these tips and tricks, you’ll make a great choice when picking the right place for your next session!
We hope you give this guide a shot, and let your inner photographer come to life!
Elizabeth Hines is a writer and editor at Study demic and Simple Grad. She is also a contributing writer for Best essay services. As a digital marketer, she specializes in social media advertising and SEO practices. As a content writer, she writes about latest tech and marketing trends, innovations, and strategies.
Posted by
Emily Aranas
.png)
.png)
.png)


